Introduction to Coffee Cupping
What is Coffee Cupping?
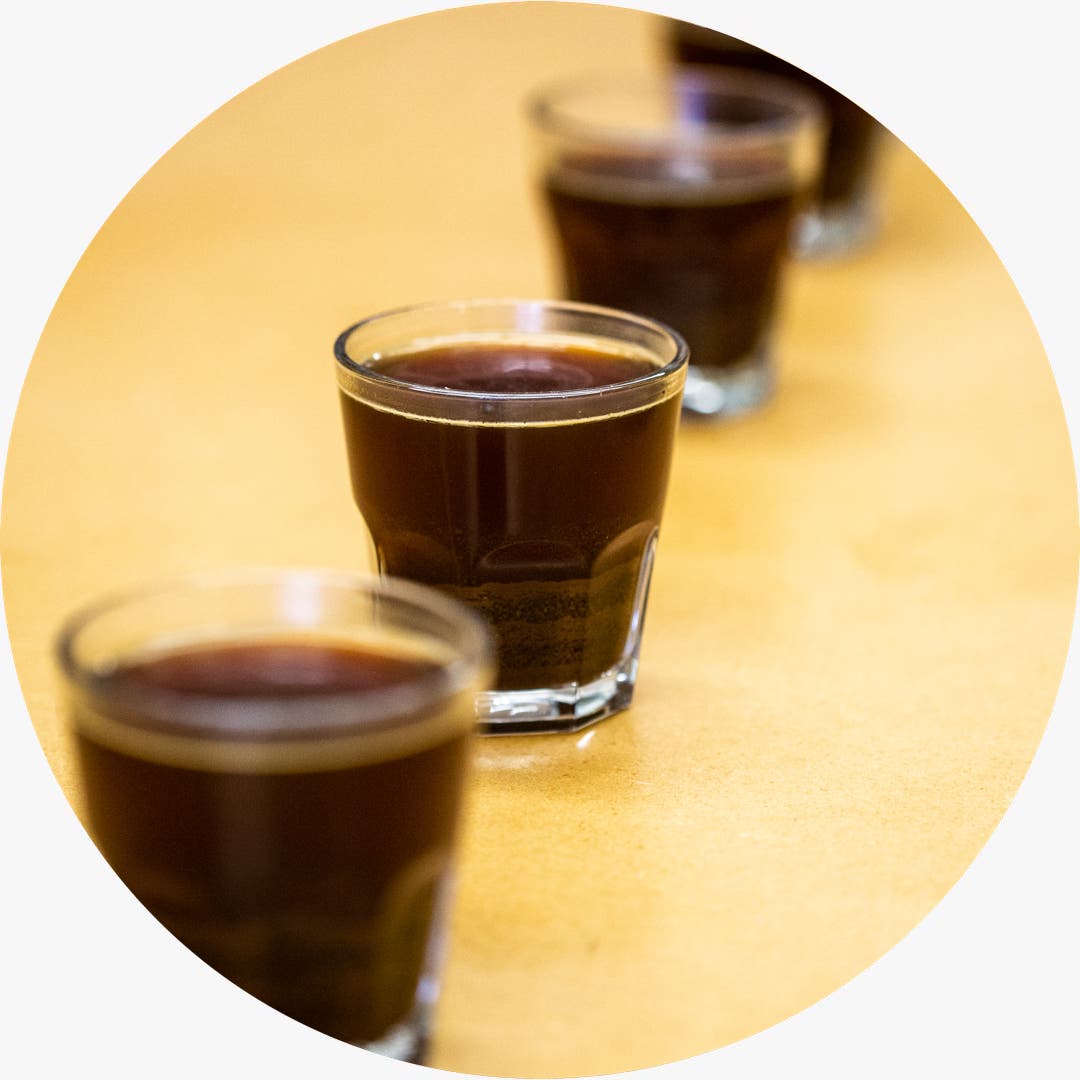
Cupping is a standardized process for evaluating coffee that is used globally by farmers, importers, coffee roasters, baristas, and more! It removes variables that could impact the taste of a coffee from one person to another (such as grind, temperature, ratio, and extraction time), so that everyone can experience the coffee in the same way. There are many benefits to cupping. For farmers and importers, cuppings can be used to evaluate the quality of a new crop to determine its value. At Continuum Coffee, we perform cuppings for a number of reasons, including:
- To evaluate samples to determine which coffees we’d like to bring in;
- To evaluate roast profiles to determine how we want to adjust each roast to further highlight the unique qualities of each coffee; and
- For quality control following each roast to ensure quality and consistency prior to shipping out our coffees.
However, cupping can also be a great way to simply experience and compare multiple coffees in a single sitting! Rather than brew multiple coffees simultaneously, cupping provides the means to prepare small amounts of each coffee quickly and effectively (and without the caffeine overload!). In this simple guide, we will walk you through our guide to cupping, so you can try it out for yourself!
What You’ll Need
- Coffee scale
- Grinder
- Water kettle
- Timer
- Thermometer (if not using a variable temperature kettle)
- Coffee (we recommend just starting with a few coffees for initial cuppings, 10 g per coffee, and increasing from there in the future, if desired)
- Cupping glasses/bowls (at least one per coffee, plus a spare for skimming and rinsing)
- Masking tape and a pen (optional, if labeling glasses)
- Cupping spoons (similar to a soup spoon; at least one per person)
- Large bowls (at least 2 for rinsing spoons and 2 for skimming grinds)
Setup
- Begin heating your water (set to 93 C/200 F, if you have a variable temperature kettle); you will need 170 g of water per coffee, plus some additional hot water for rinsing and skimming
- Set your table up with the timer, cupping spoon(s), and spare bowl
- For each coffee, grind 10 g at a medium-fine grind (roughly the coarseness of sea salt) and enter each coffee into a glass/bowl; if possible, grind a small amount of each coffee prior to the 10 g to “purge” the grinder (i.e., remove any of the grinds from the previous coffee to avoid cross-contamination)
- Once all samples have been ground, lay them out in the desired order (blind tastings avoid biases, so try marking each coffee with masking tape at the bottom of each cup/bowl and lay them out randomly)
Cupping
- Once the cups are organized, begin your cupping by evaluating the smell of the dry grinds (referred to as the “fragrance”). If possible, take notes throughout. What do you like/dislike about each cup? Can you put your finger on any particular notes or associations (e.g., chocolate, nuts, citrus)?
- Once the temperature of the water in the kettle has reached 93 C/200 F (+/- 2 degrees), set the timer for 4 minutes and begin the timer once you being your first pour.
- Fill each cup/bowl with 170 g of hot water for a 1:17 ratio of coffee to water, including the spare cup/bowl which will be used for rinsing/skimming
- At 4 minutes, “break the crust” by using your spoon to break-up the layer of coffee grinds that has formed at the surface. This can be done by using the back of your spoon to gently push the grinds away from you three times or doing so in a circular pattern. As you do so, evaluate the smell that is released when this layer is broken (referred to as the “aroma”). Repeat this process for each cup, rinsing your spoon in the spare cup/bowl each time.
- Once the aroma has been evaluated for all cups, immediately begin removing the grinds by skimming the surface with your spoon(s). The idea is to remove any floating grinds or foam, which could interfere with the tasting later on. Prior to skimming, rinse the spoon(s) in water each time to avoid introducing grinds from previous cups. Skimmed grinds/foam are disposed of in the spare cup/bowl. Once complete, discard this water and fill the spare bowl with fresh water.
- Once the coffee has sufficiently cooled, tasting can begin. If following the standards set by the Specialty Coffee Association, this should be 5 minutes after the crust has been broken, or once the temperature of the coffee has reached approximately 71 C/160 F. Tasting is performed by rinsing your spoon in the spare cup/bowl, taking a small amount of coffee into your spoon, and then sipping or slurping the coffee from your spoon. Slurping is performed to aerate the coffee to expose it to more of your taste buds as well as make more effective use of your olfactory senses (smell); rinsing your spoon is important to avoid cross-contamination between coffees.
- Ideally, evaluate each coffee, in sequence, three times, rinsing your spoon between each sip. This is done to observe how the flavours change as the coffee cools.
Once you have evaluated all of the coffees, review your notes and see what you learned! How did the coffees differ? Were some sweeter than others? Did the body/mouthfeel differ? What flavours or aromas did you make note of? And most importantly, which coffees did you like best? By performing such cuppings, you can learn a lot about different coffees and your preferences.
Have you tried our cupping guide? Let us know what you think!
